How To Set Up an NFS Mount on Ubuntu 16.04
Introduction
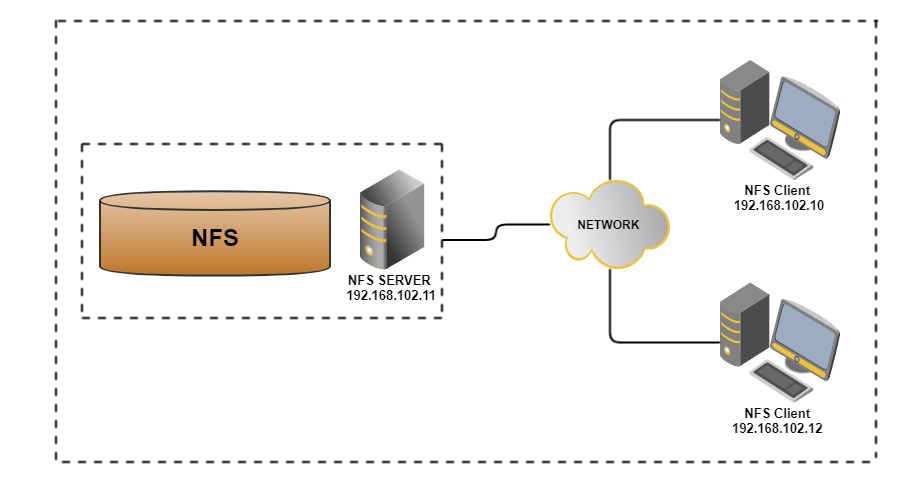
NFS, or Network File System, is a distributed file system protocol that allows you to mount remote directories on your server. This lets you manage storage space in a different location and write to that space from multiple clients. NFS provides a relatively quick and easy way to access remote systems over a network and works well in situations where the shared resources will be accessed regularly. In this guide, we’ll cover how to configure NFS mounts.

Prerequisites
- 2 ubuntu servers
- Master server(Host) – 192.168.0.13
- Slave server(client) -192.168.0.100
Step 1 — Downloading and Installing the Components
We’ll begin by installing the necessary components on each server.
On the Host:
On the Host server, we will install the nfs-kernel-server package.
sudo apt-get updatesudo apt-get install nfs-kernel-server
On the client:
On the client server, we need to install a package called nfs-common , which provides NFS functionality without including unneeded server components.
sudo apt-get updatesudo apt-get install nfs-common
Step 2 — Creating the Share Directories on the Host:
First, make a share directory called nfs :
sudo mkdir /var/nfs/Host-backup -pThe created folder will be made to access by root only.
NFS will translate any root operations on the client to the nobody:nogroup credentials as a security measure. Therefore, we need to change the directory ownership to match those credentials.
sudo chown nobody:nogroup /var/nfs/Host-backupStep 3 — Configuring the NFS Exports on the Host Server.
Next, we’ll dive into the NFS configuration file to set up the sharing of these resources.
Open the /etc/exports file in your text editor with root privileges:
We’ll need to create a line for each of the directories that we plan to share. Since our client
server has an IP of 192.168.0.100 , our lines will look like the following. Be sure to change the IPs
to match your client:
Let’s take a look at what each one means.
- rw: This option gives the client computer both read and write access to the volume
- sync: This option forces NFS to write changes to disk before replying. This results in a more stable and consistent environment since the reply reflects the actual state of the remote volume. However, it also reduces the speed of file operations.
- no_subtree_check: This option prevents subtree checking, which is a process where the host must check whether the file is actually still available in the exported tree for every request. This can cause many problems when a file is renamed while the client has it opened. In almost all cases, it is better to disable subtree checking.
When you are finished making your changes, save and close the file. Then, to make the shares available to the clients that you configured, restart the NFS server with the following command
sudo systemctl restart nfs-kernel-serverStep 4 — Adjusting the Firewall on the Host Server:
First, let’s check the firewall status to see if it’s enabled and if so, to see what’s currently permitted:
sudo ufw statusOn our system, only SSH traffic is being allowed, so we’ll need to add a rule for NFS traffic.
sudo ufw allow from 203.0.113.256 to any port nfsStep 5 — Creating the Mount Points on the client
Now that the Host server is configured and serving its shares, we’ll prepare our client.
We’ll create the directory
sudo mkdir -p /nfs/Host-backupStep 6 — Mounting the Directories on the Client:
We should mount the Host server’s directory using it’s ip address (192.168.0.13)
sudo mount 192.168.0.13:/var/nfs/Host-backup /nfs/Host-backupStep 7 — Testing NFS Access
Create a file in the folder of Host server and check it in the client server.
Step 8 — Mounting the Remote NFS Directories at Boot
We can mount the remote NFS shares automatically at boot by adding them to /etc/fstab file on the client
sudo nano /etc/fstabAt the bottom of the file, we’re going to add a line for our shares. It will look like this
192.168.0.13:/var/nfs/Host-backup /nfs/Host-backup nfs auto,nofail,noatime,nolock,intr,tcp,actimeo=1800 0 0

